| Retaining Wall Installation
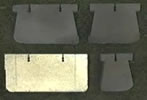
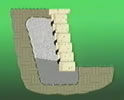
The Celtik Wall System offers three different configurations; the 90mm high module, the 135mm high module or a combination of the two.
 |
|
|
90 mm module |
135 mm module |
Combination |

|
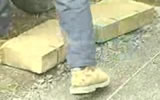
Draw a string at the projected front wall level.
Spread a thin layer of screening to provide a laying bed.
|

|
 |
For this project we will be using the 90mm high module. |
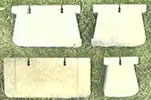
| The Celtik Wall System Blocks come in various lengths, for better stability we recommend using the longest blocks for the first row. |
|
 |
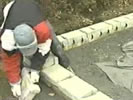
When you install the first row of blocks, start at the lowest extremity of the wall. |
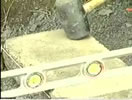
| Level each block with screening. The first row of blocks must be perfectly straight and level. |
|
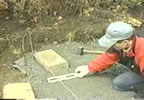 |
(Using the level to smooth out the screening.) |
|
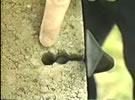
From the second row of blocks and on you will start using the anchor pins, the longest blocks require two pins the others only one.
|
|
 |
The modules are placed bottom up on the pallet to accelerate installation. |
| First insert pins in the modules. Use the appropriate round slot, depending on whether the wall is to be vertical or sloped 8 degrees. |
|
 |
For the installation of the vertical wall insert the pins in the round slot closest to the side. |
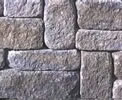
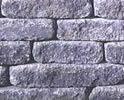
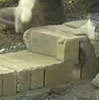
| The Celtik Wall is easier to install than natural stone and does not require any mortar. Its top and bottom surfaces are flat to ensure easy, solid and stable stacking. |
|
 |
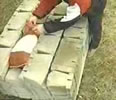
Carefully distribute different sizes of blocks to give a balanced natural look to the layout. |
Note that the maximum height of a vertical wall is 21 inches or 55 cm.
 |
When building a wall to the maximum height of 42 inches or 1.1 meters, you have to insert the pins in the round slot closest to the middle of the blocks.
|
This way the wall will be sloped 8 degrees and reach a maximum height of 42 inches or 1.1 meters.
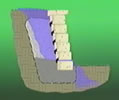
| Use 0 to 3/4 inch or 0 to 20 mm stones and place them behind the wall in a slope so that the water will evaporate and not accumulate behind the wall. |
|
Start back-building to provide proper support as soon as a height of 24 inches or 60 cm is reached. Use 20 mm or 3/4 inch clean stone.
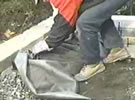 |
Fold the geotextile over the drainage system. |
Continue our How To Build a Retaining Wall Guide - next section is Retaining Wall Curves.
For more information about the Celtik Wall System to create beautiful and natural looking retaining walls you can view our video.
See also Retaining Wall Shapes
|